


How to use a wood pizza oven: temperatures, timing, and fuel tips from first fire to perfect crust
Knowing how to use a wood pizza oven correctly makes the difference between a 90-second Neapolitan crust and a scorched, unevenly cooked disappointment. Most guides focus on the steps and skip the variable that controls all of them: the quality and size of the wood you put in. This guide covers both, from building the first fire to managing heat across a full cook session, with fuel guidance at every stage.
What you need before your first fire
Get these in place before lighting anything. Skipping setup is the fastest way to ruin the first session.
Tools
An infrared thermometer is non-negotiable. It reads floor and dome temperature without contact, which is how you know when the oven is actually ready rather than guessing from preheat time. A long-handled metal pizza peel for launching and a round turning peel or pizza turner for rotating mid-cook are both essential. Add heat-resistant gloves, a metal ember rake for repositioning coals, and a long-handled brush for sweeping the floor before the first pizza goes in.
Wood selection
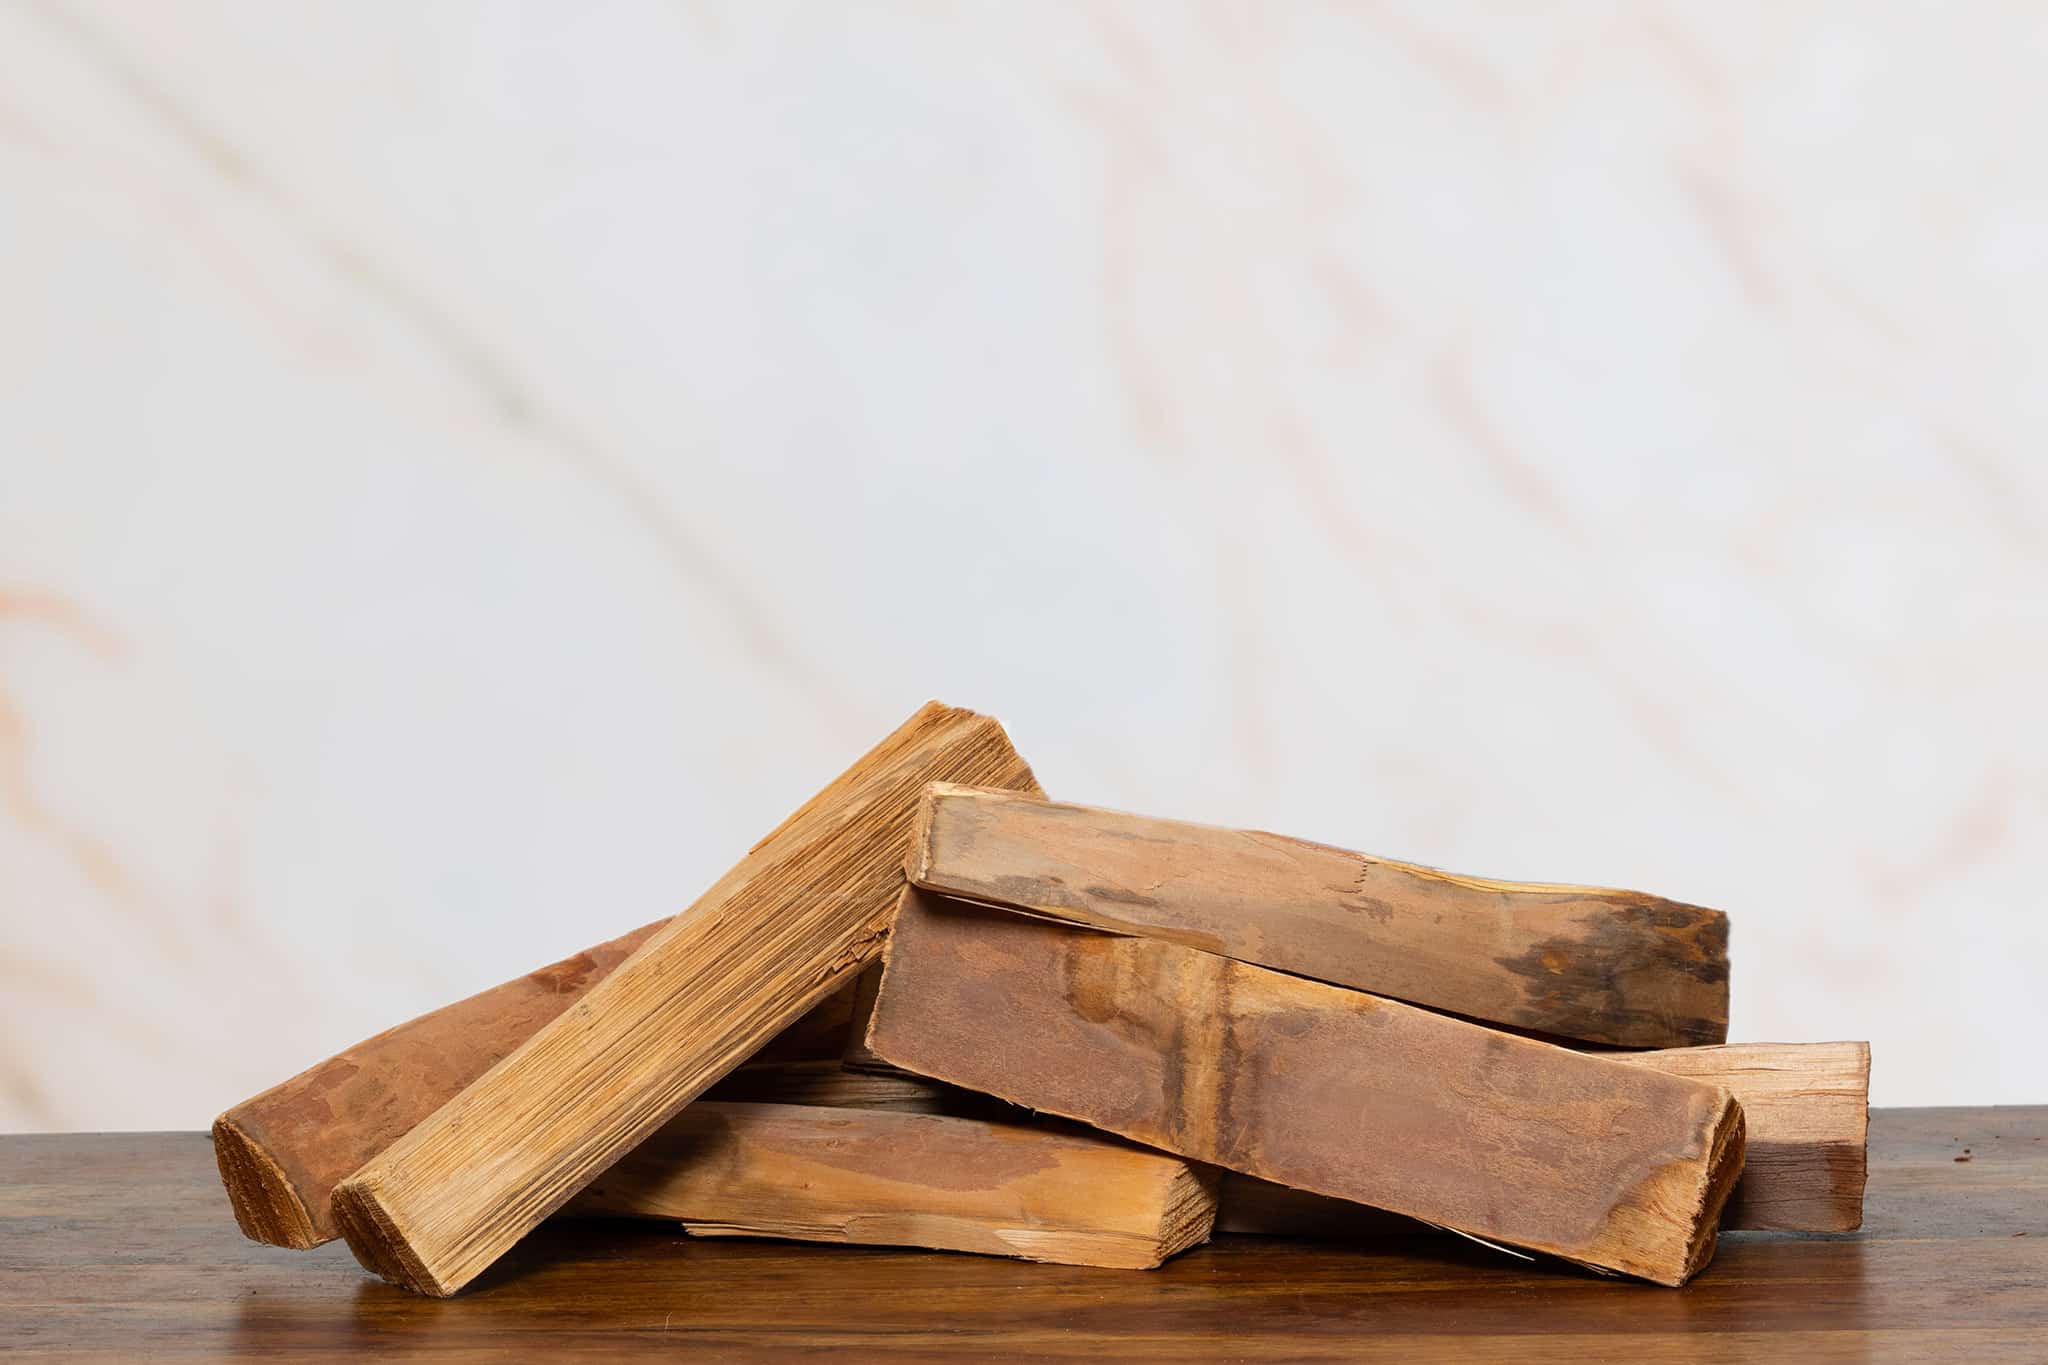
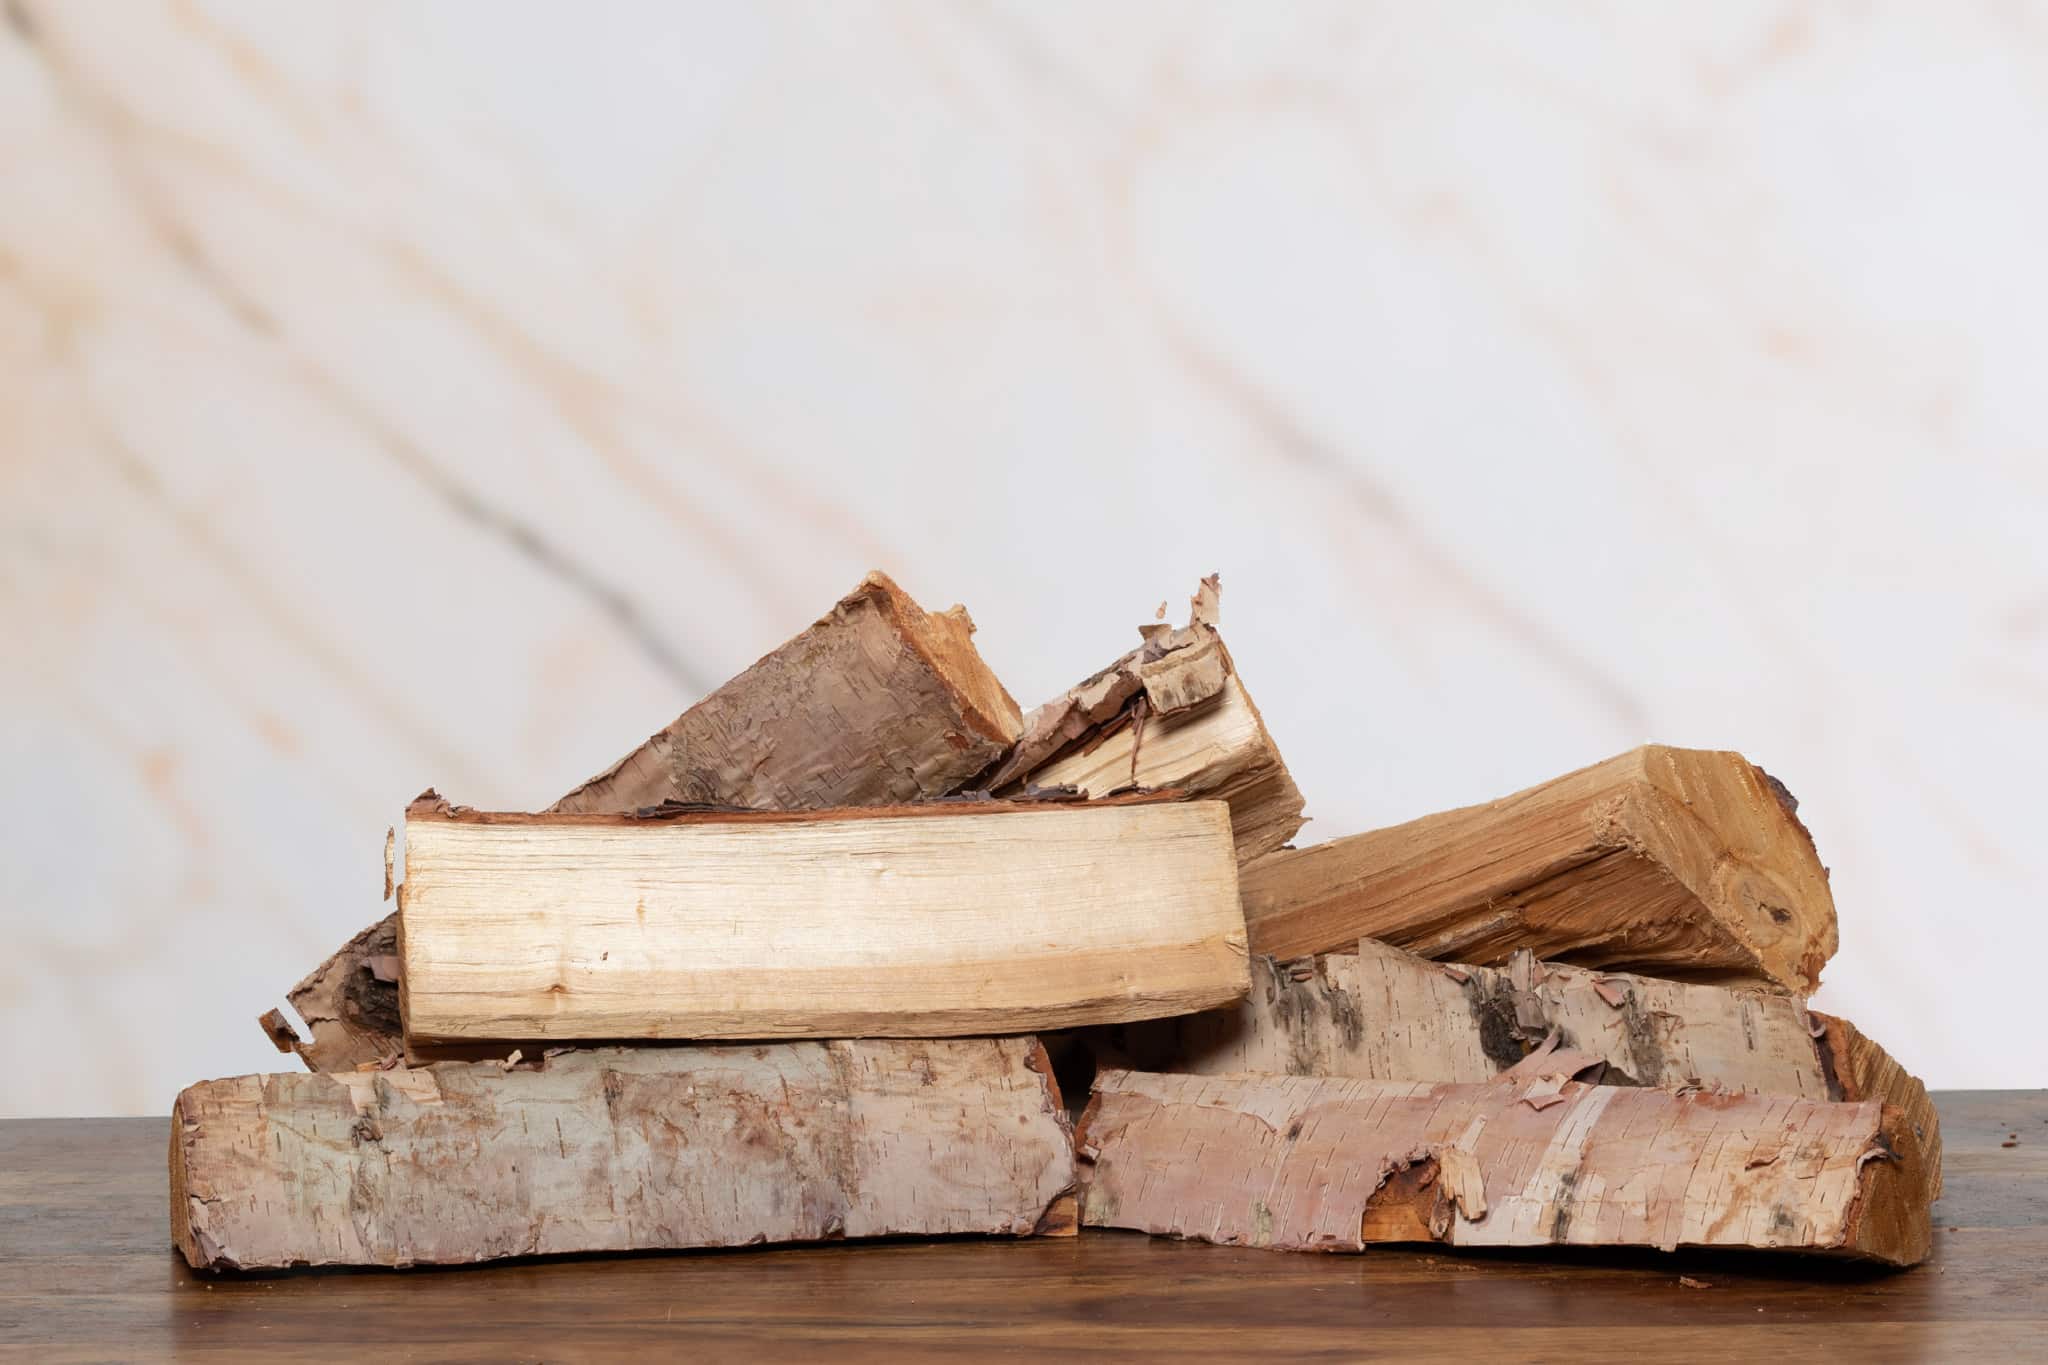
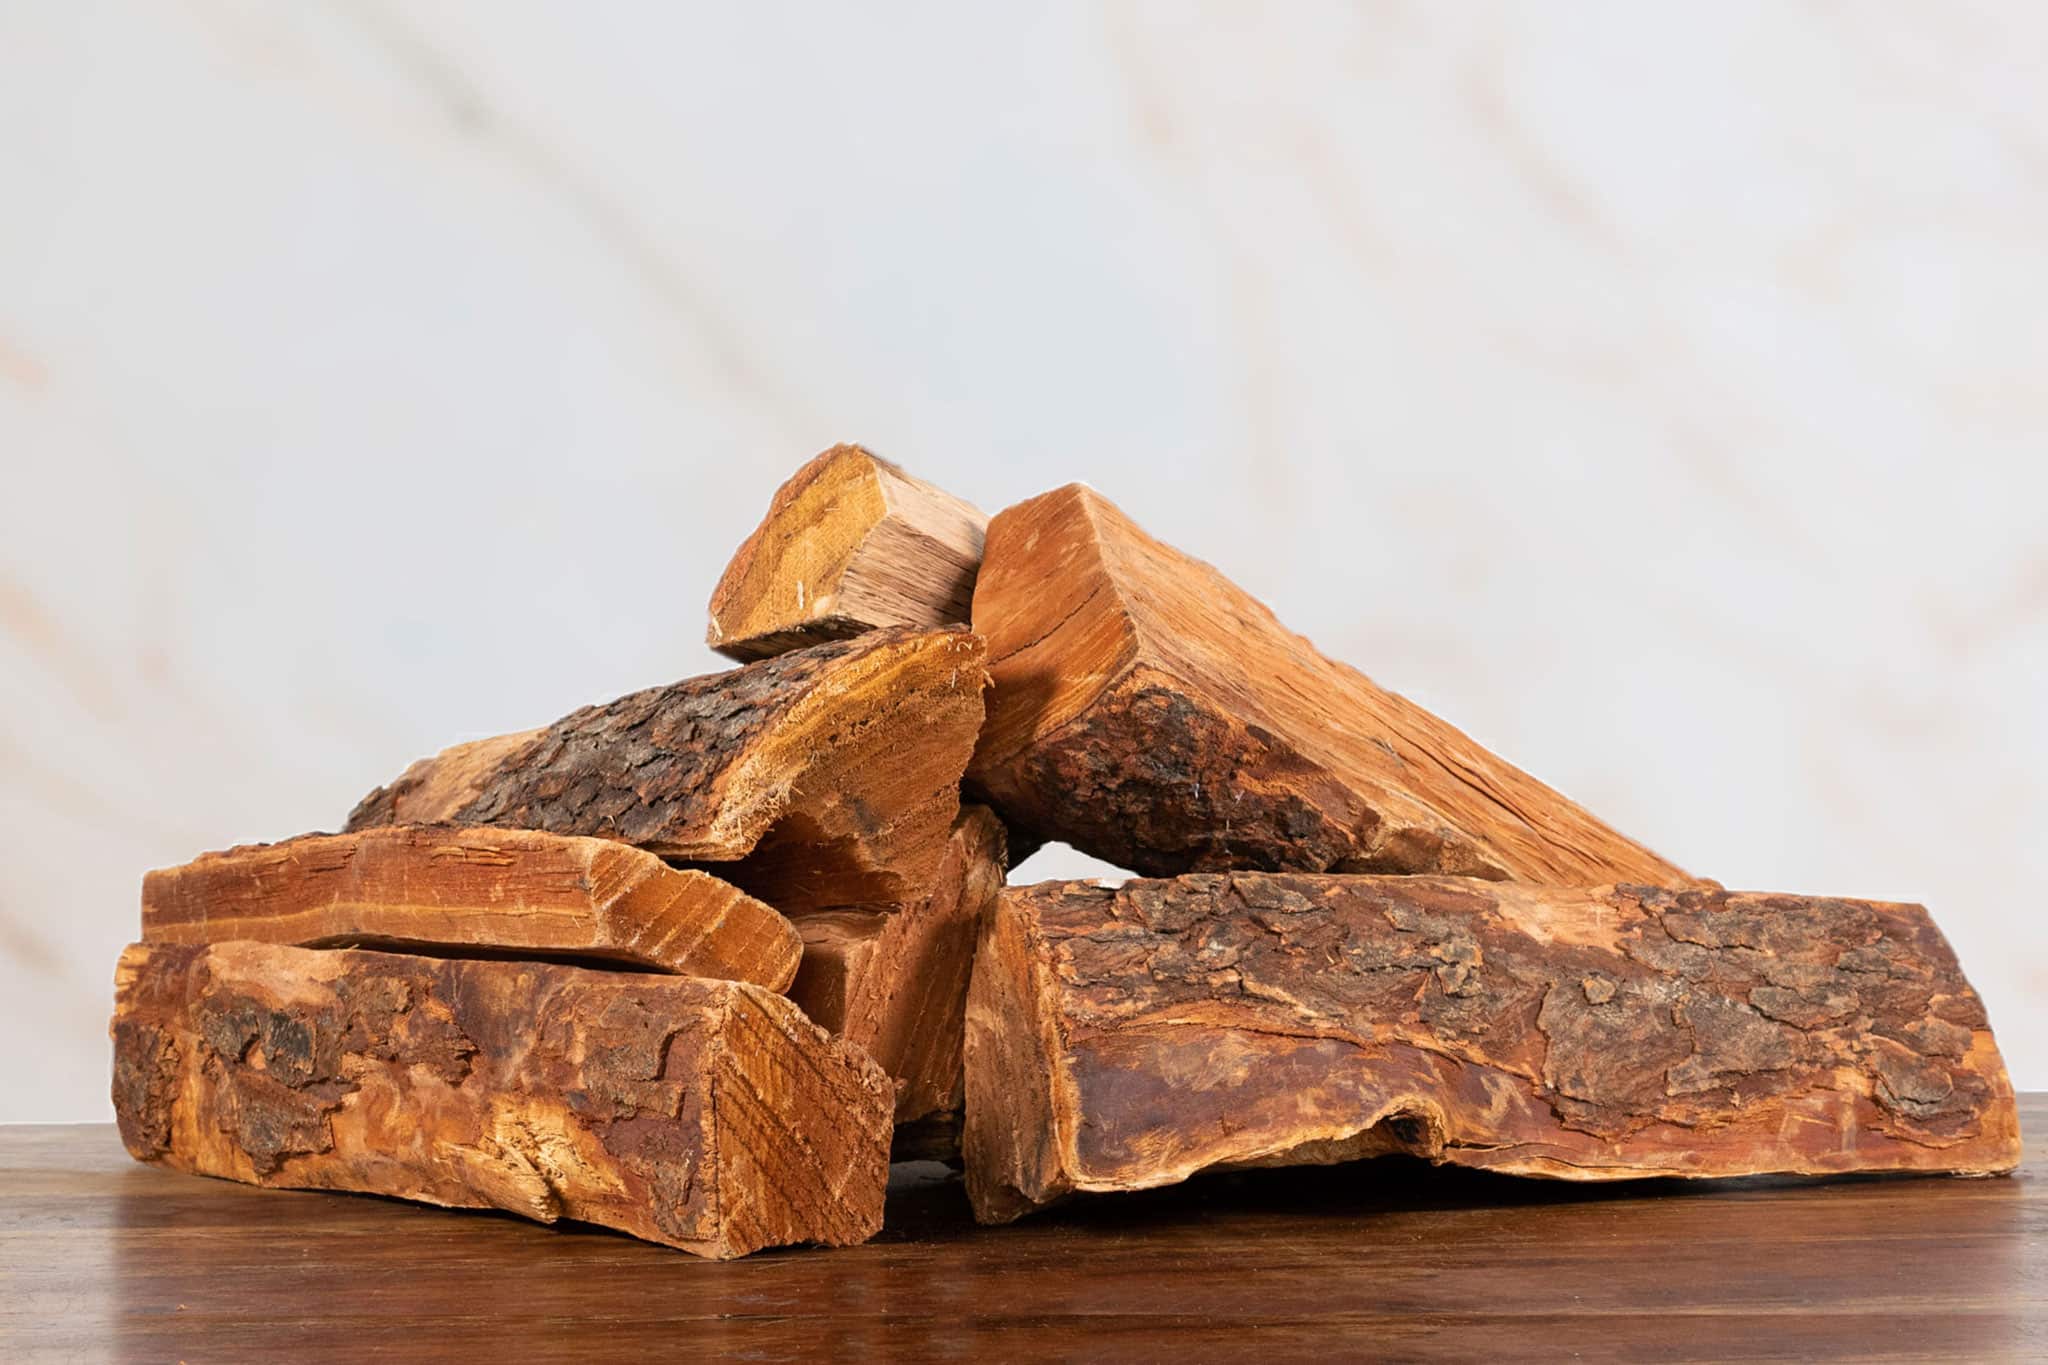
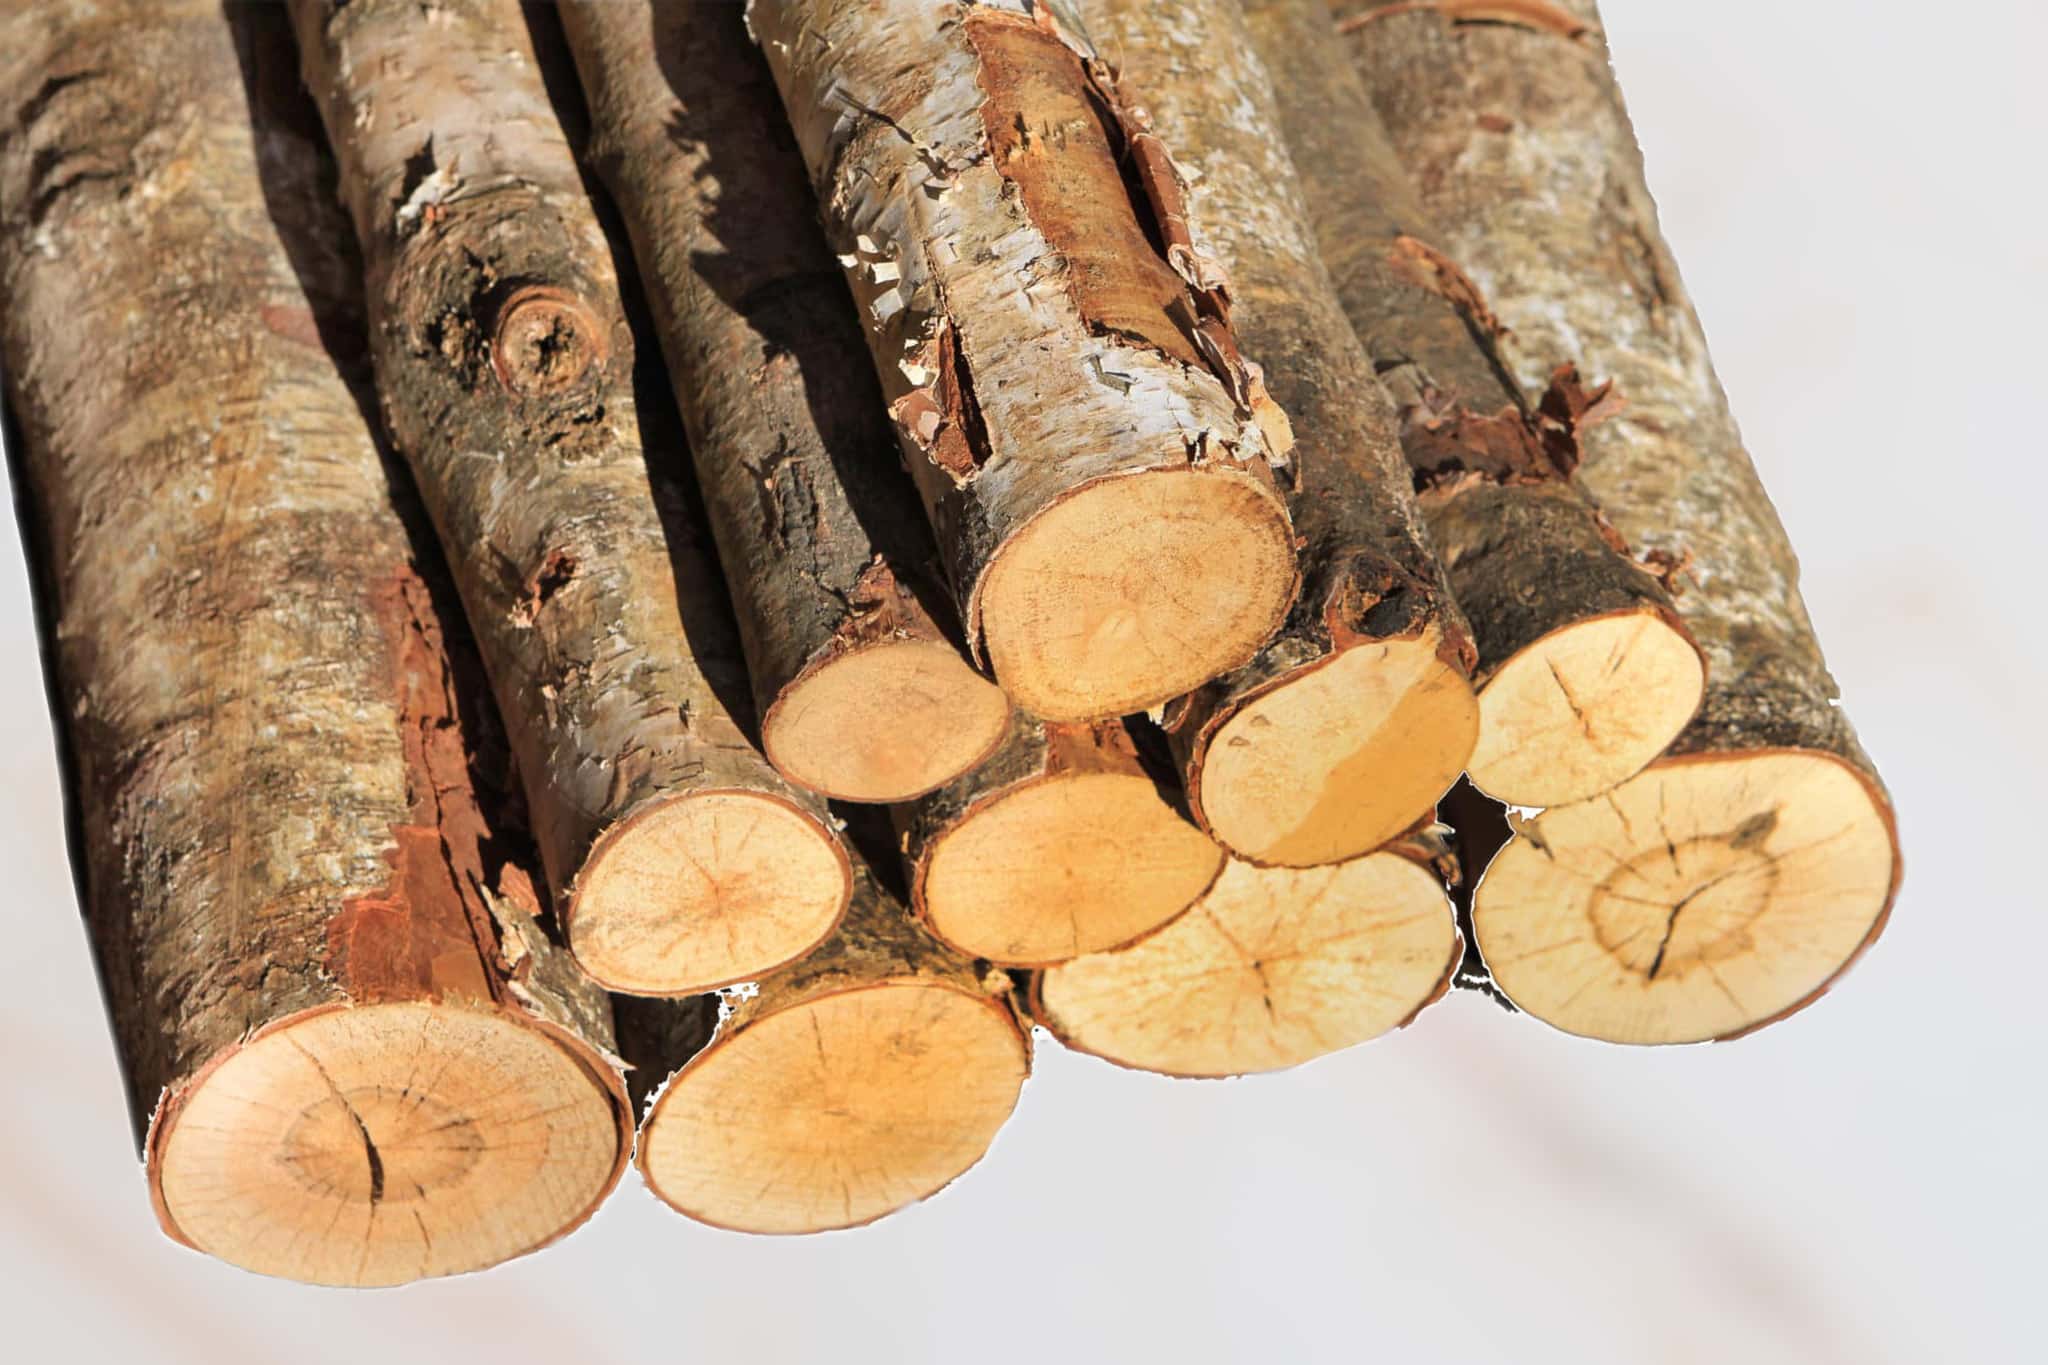
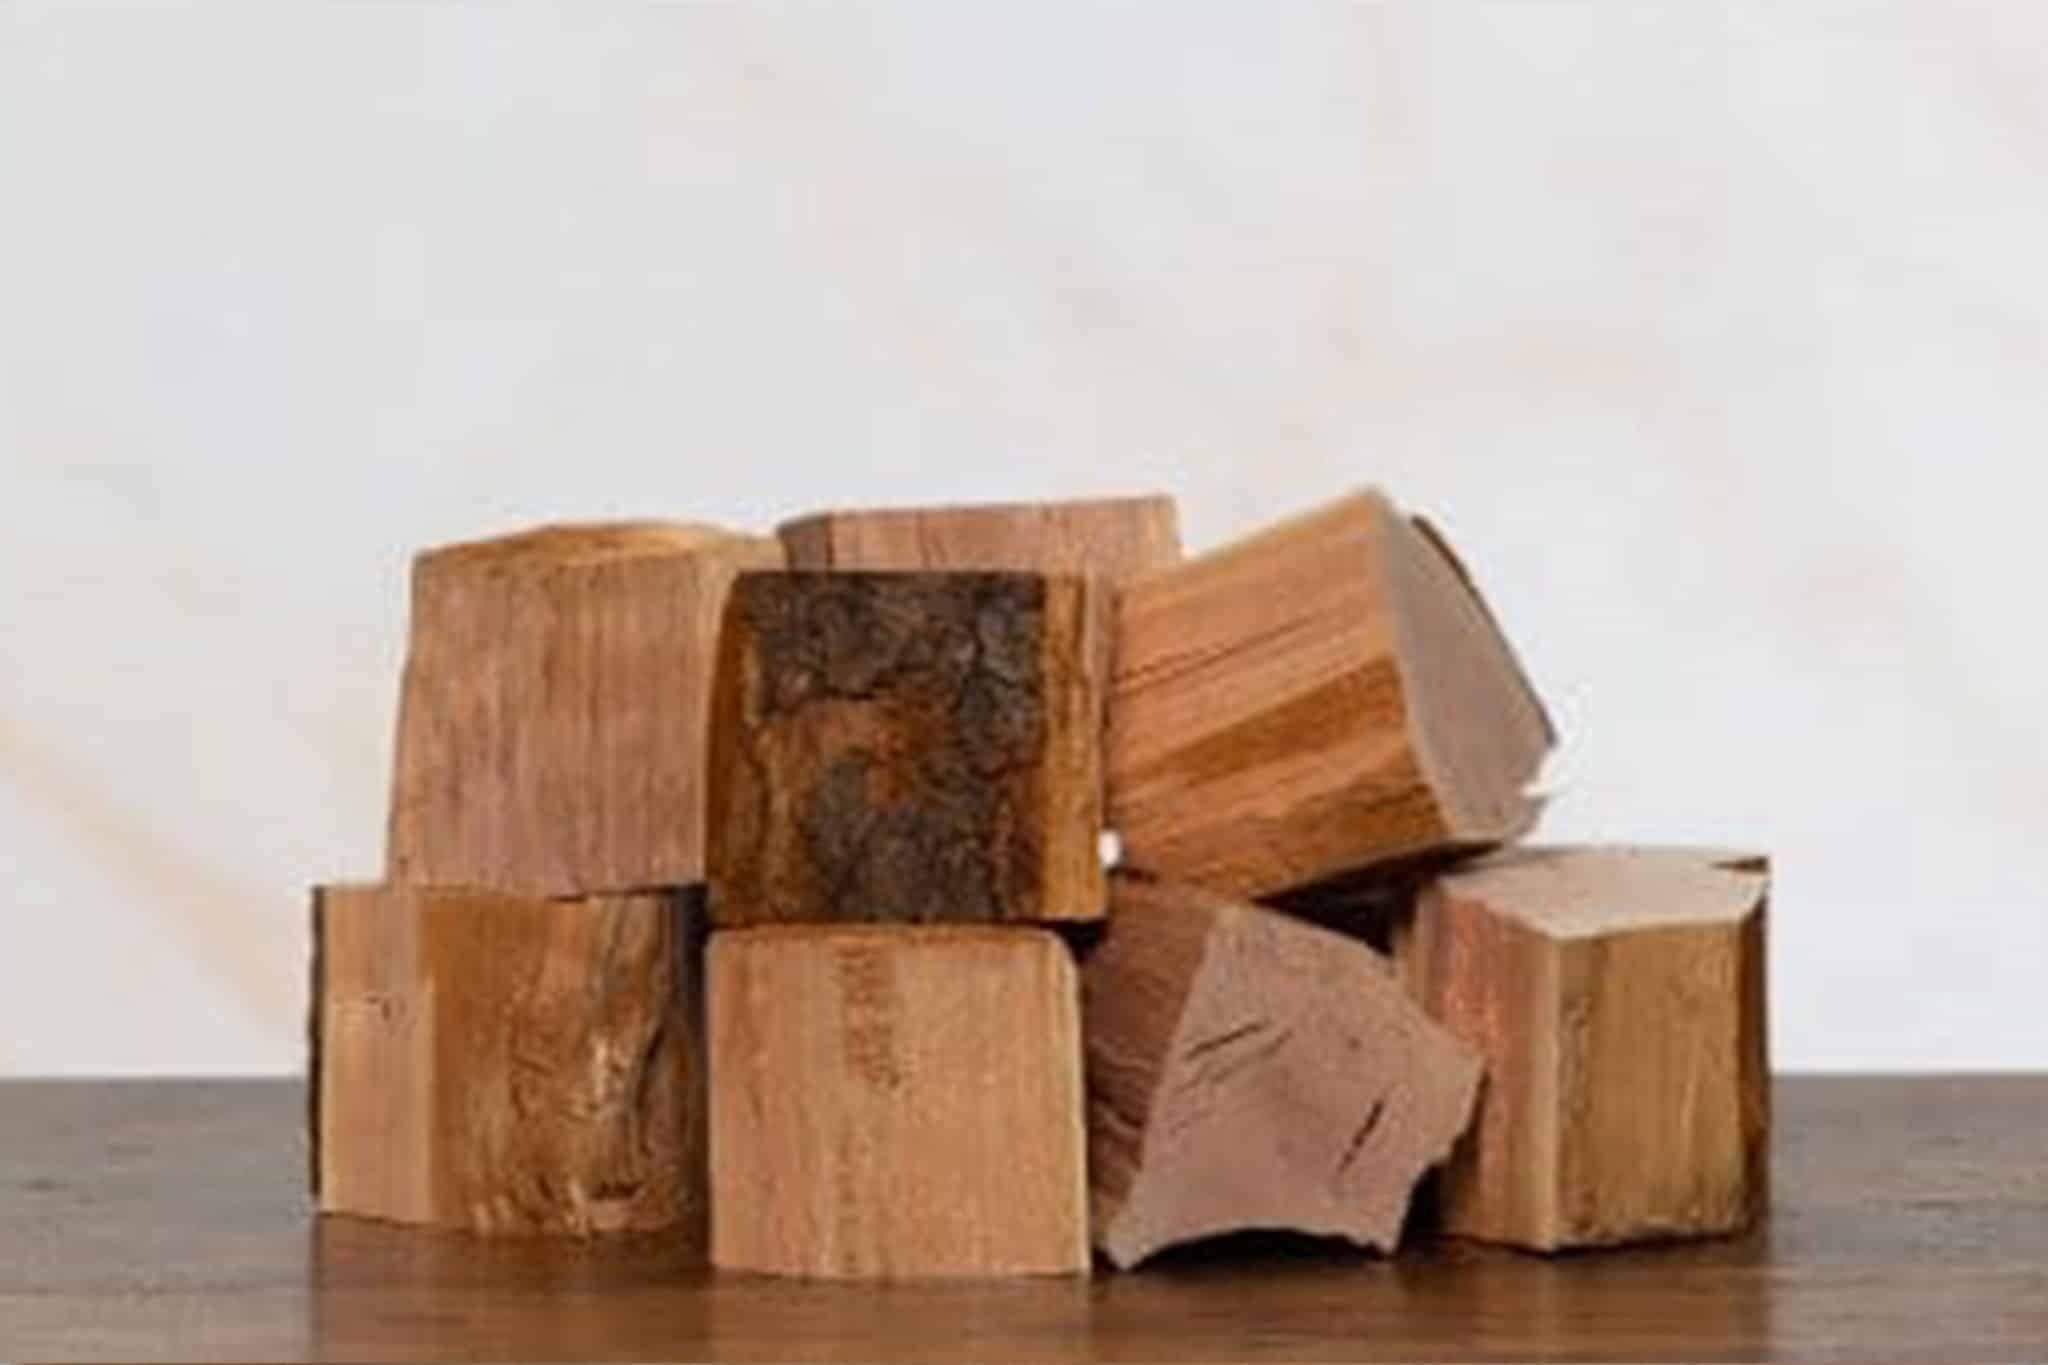
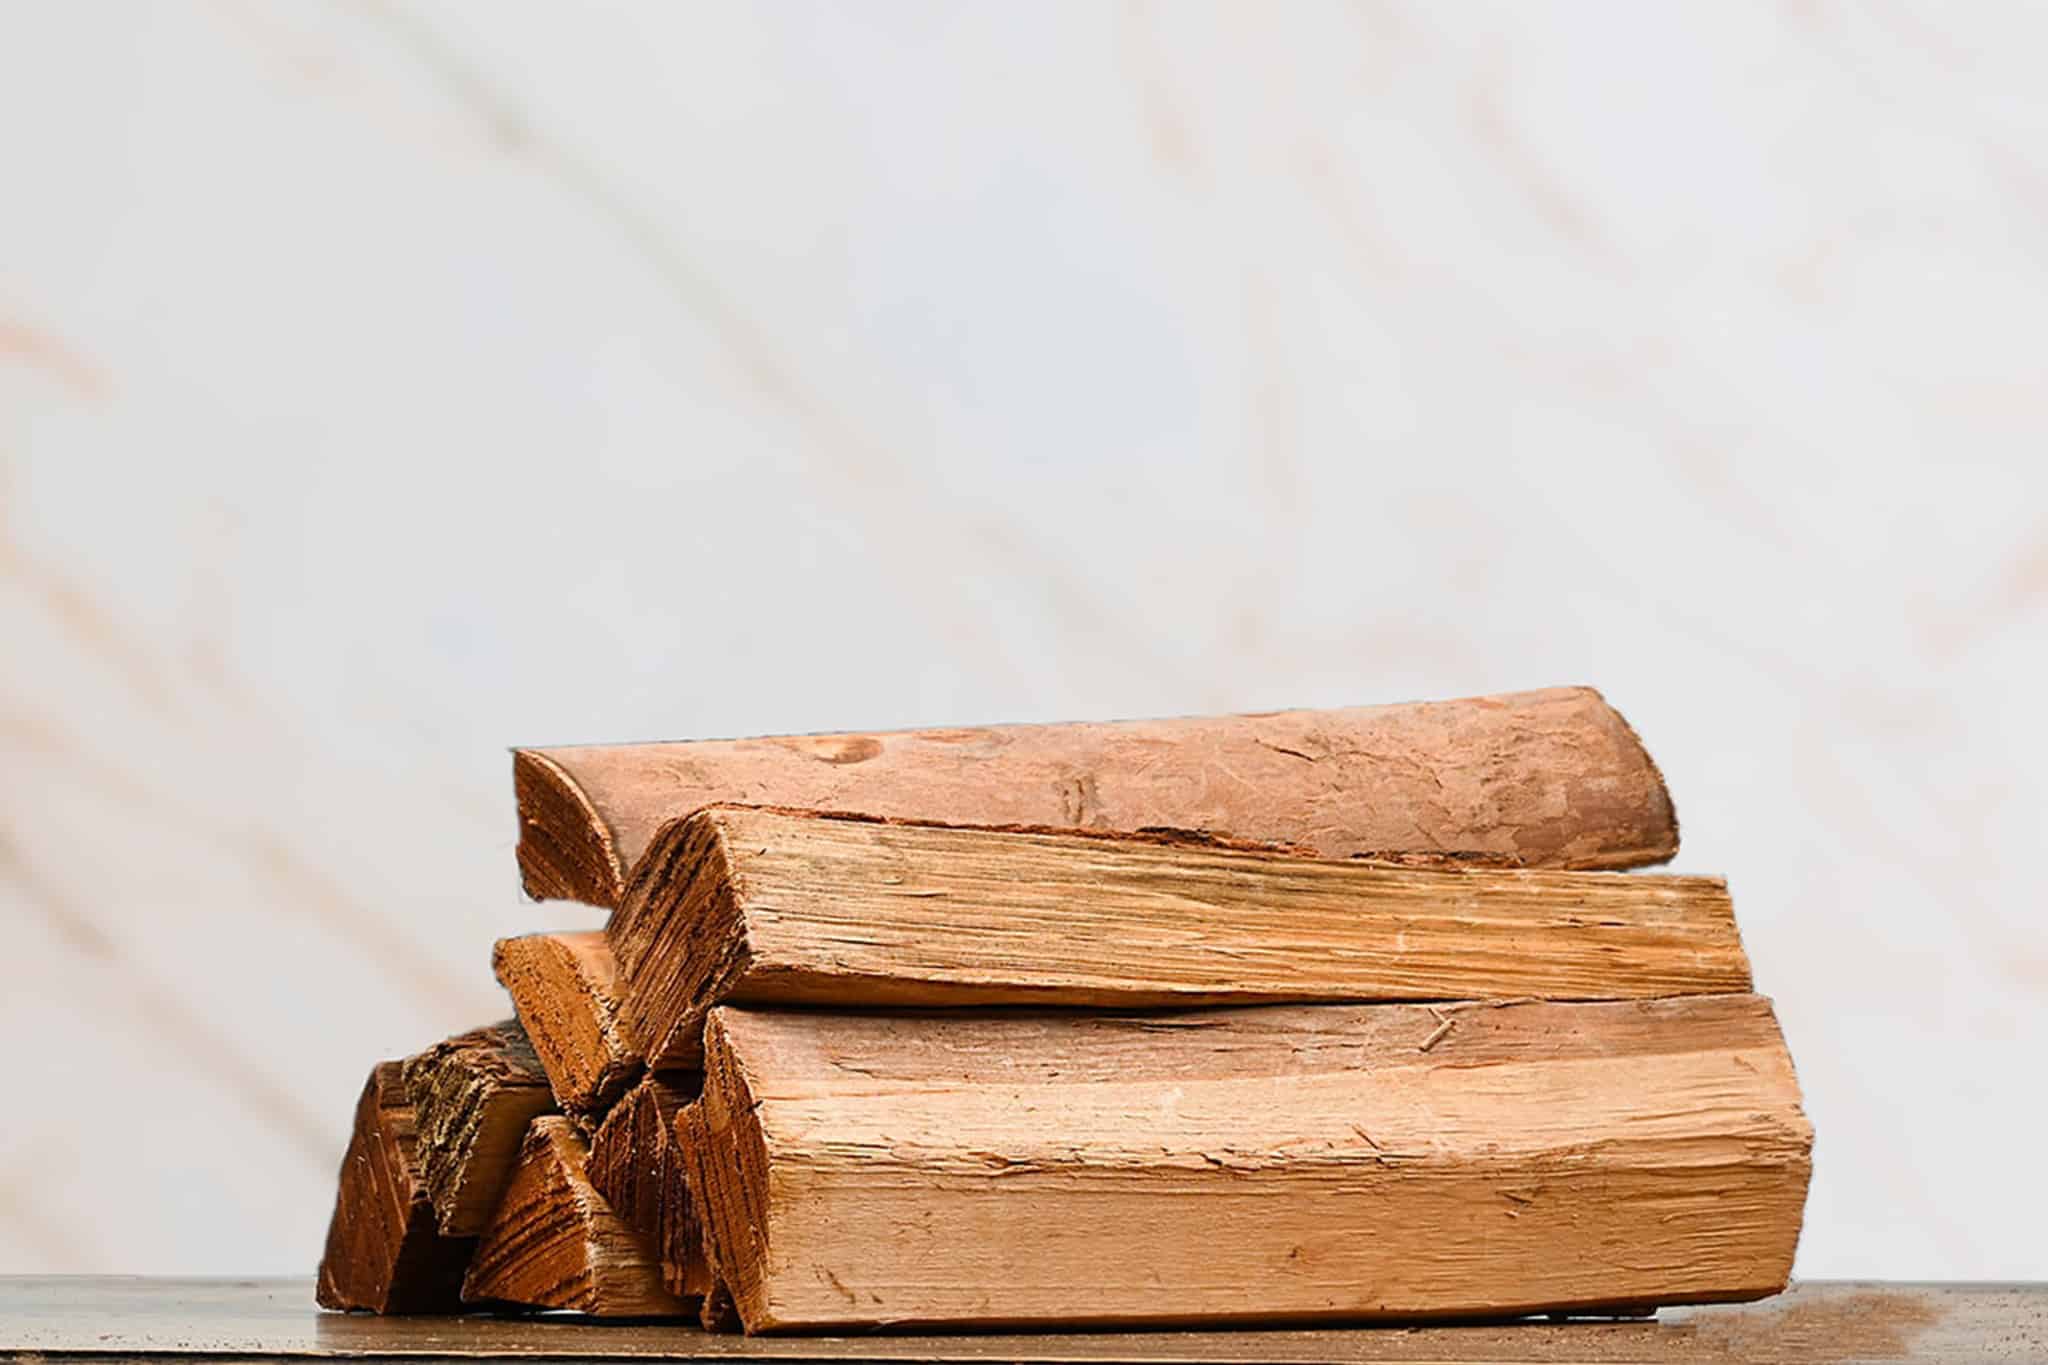
Use kiln-dried hardwood only. Oak is the standard for pizza ovens: it burns at sustained high temperatures, builds a dense coal bed, and produces a neutral smoke. Cherry adds subtle sweetness and works well for gourmet pies. Avoid softwoods (pine, spruce, fir) entirely. They contain resin that burns acrid, coats the dome with soot, and drops temperature unpredictably.
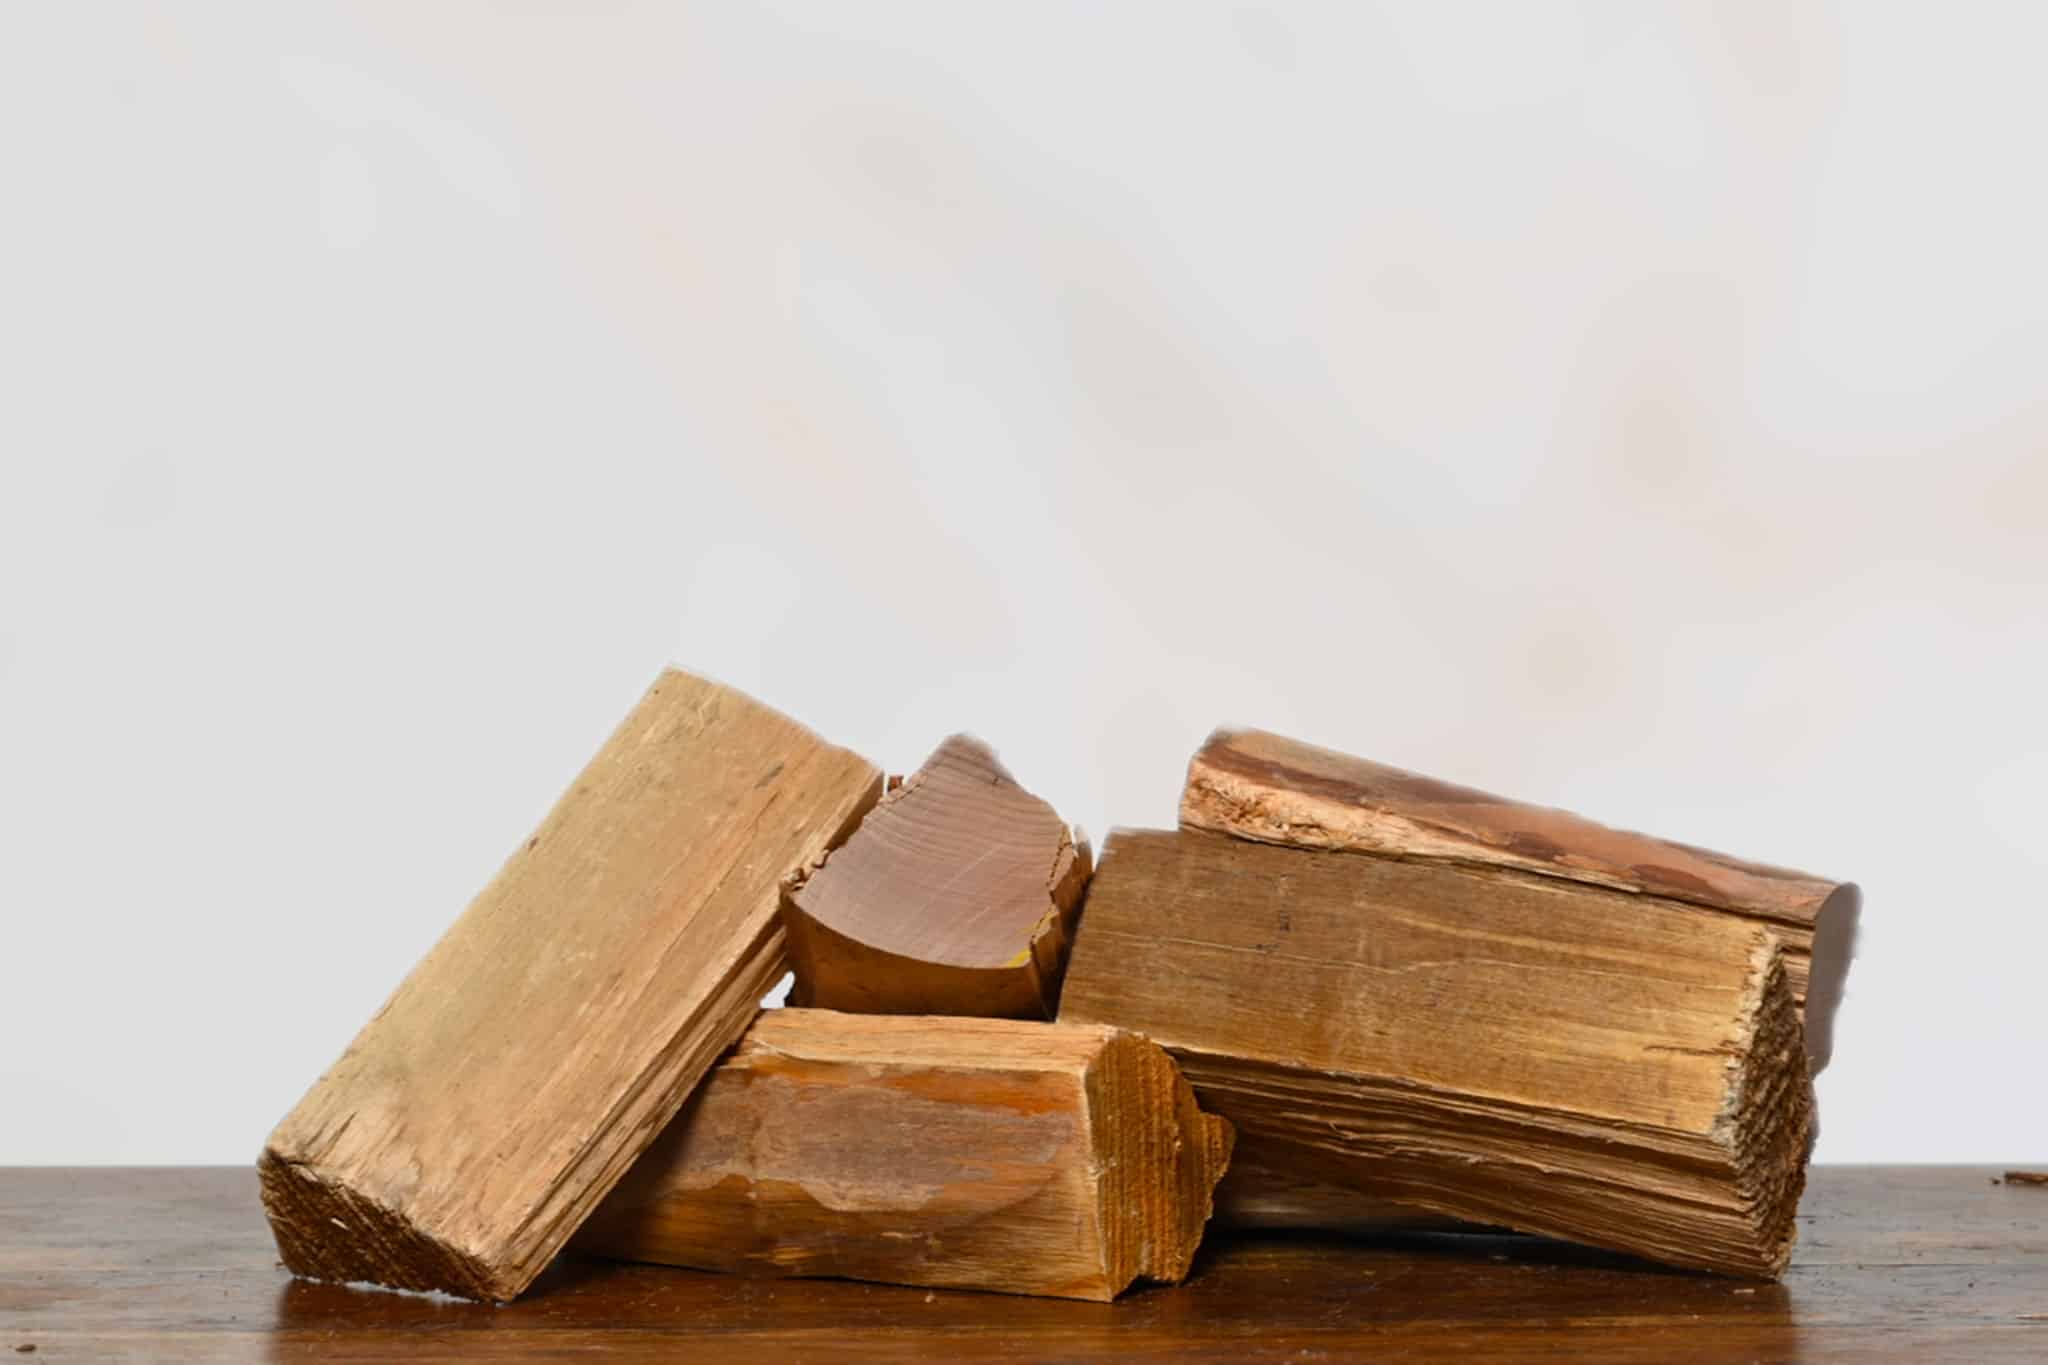
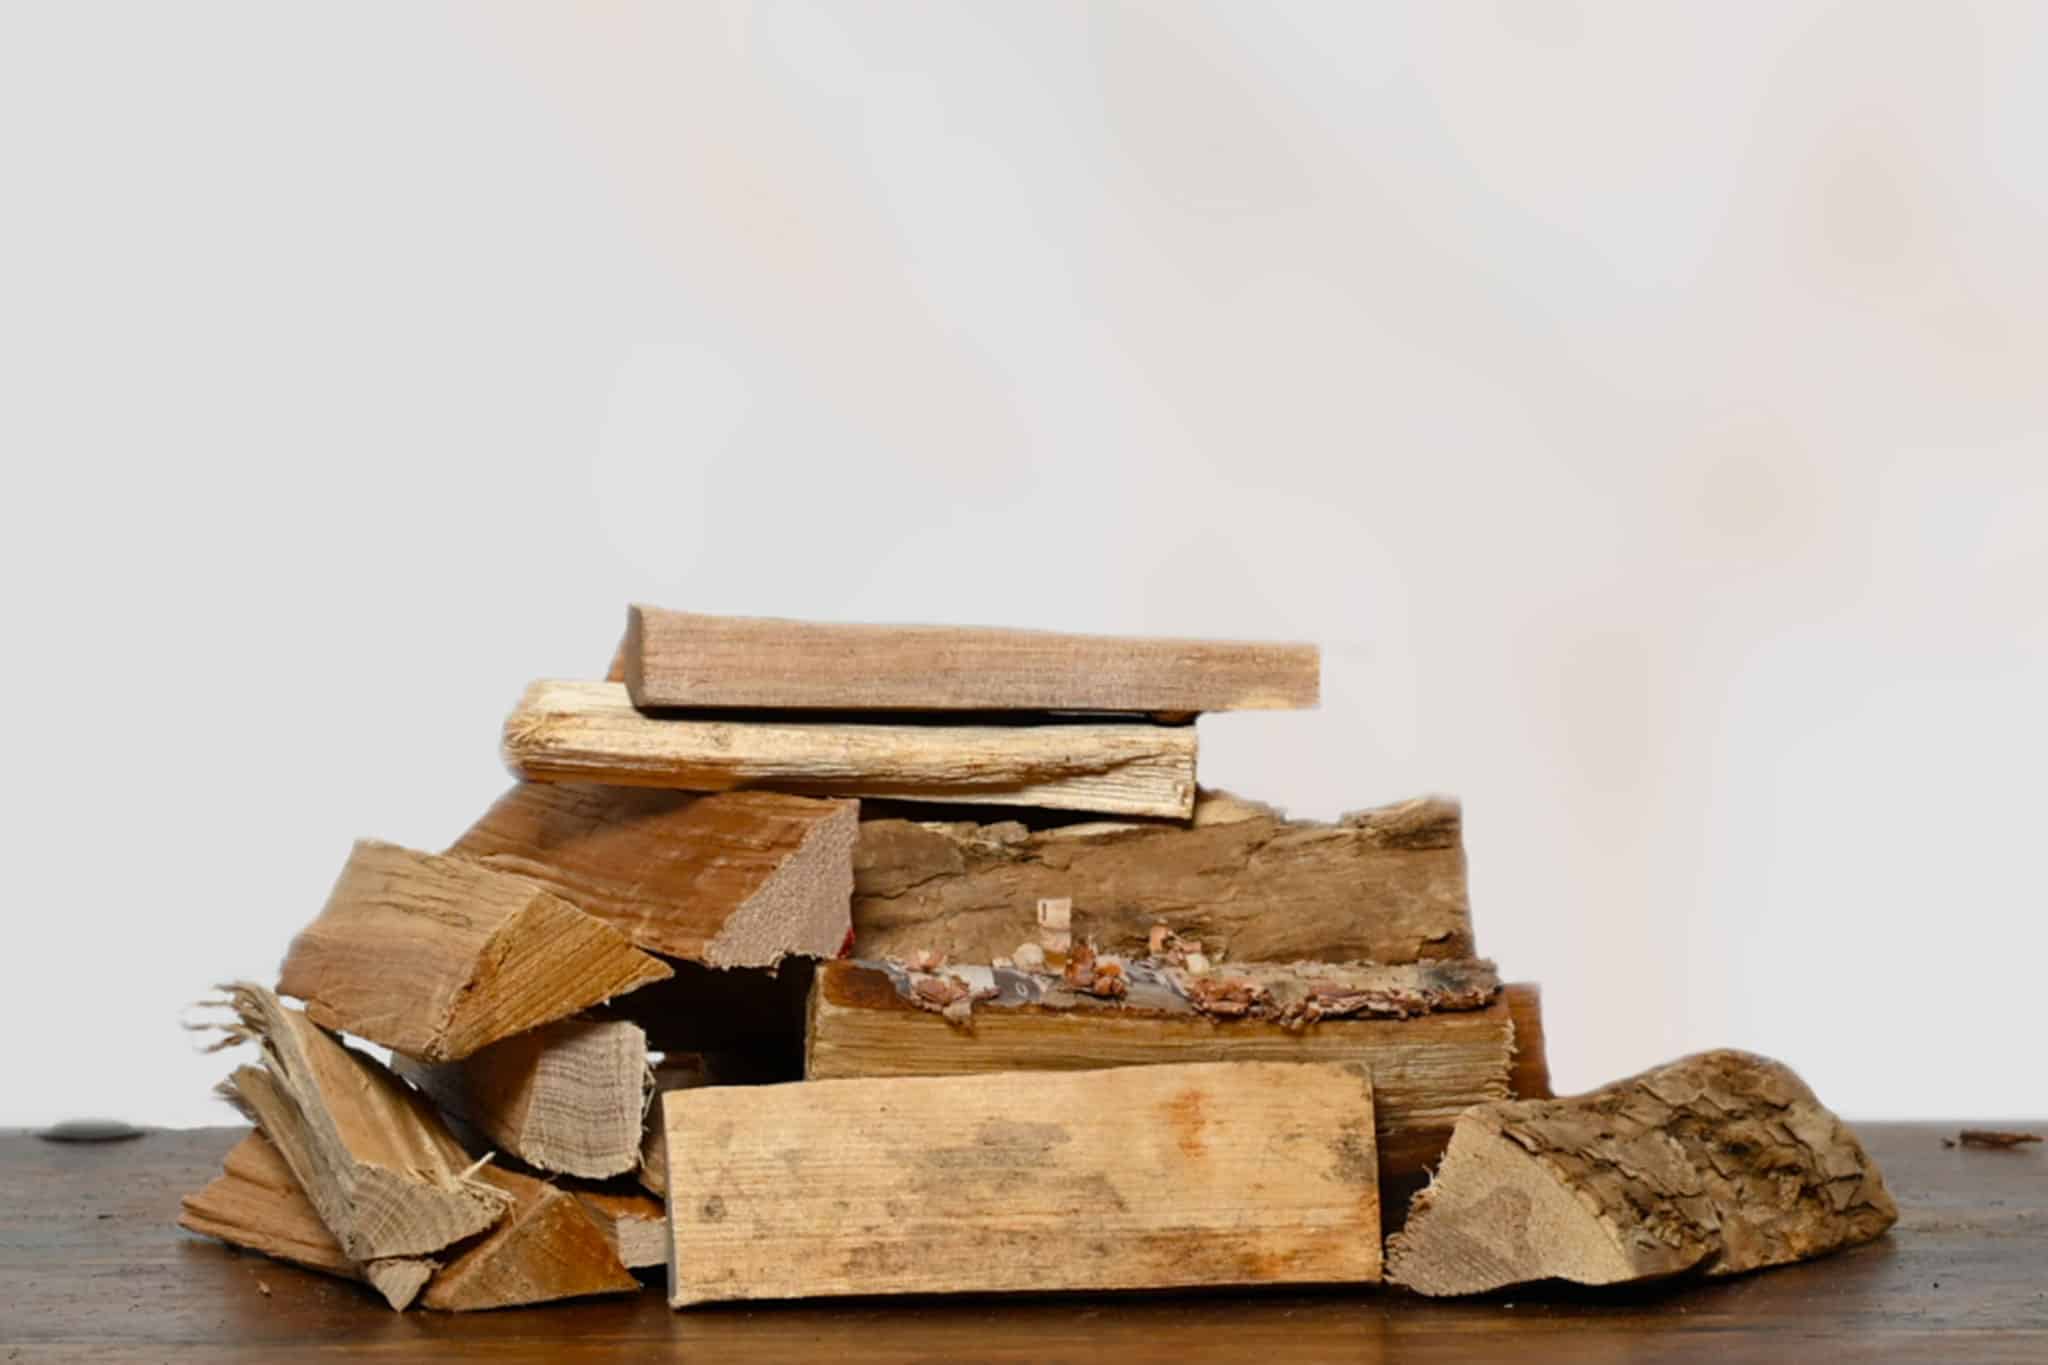
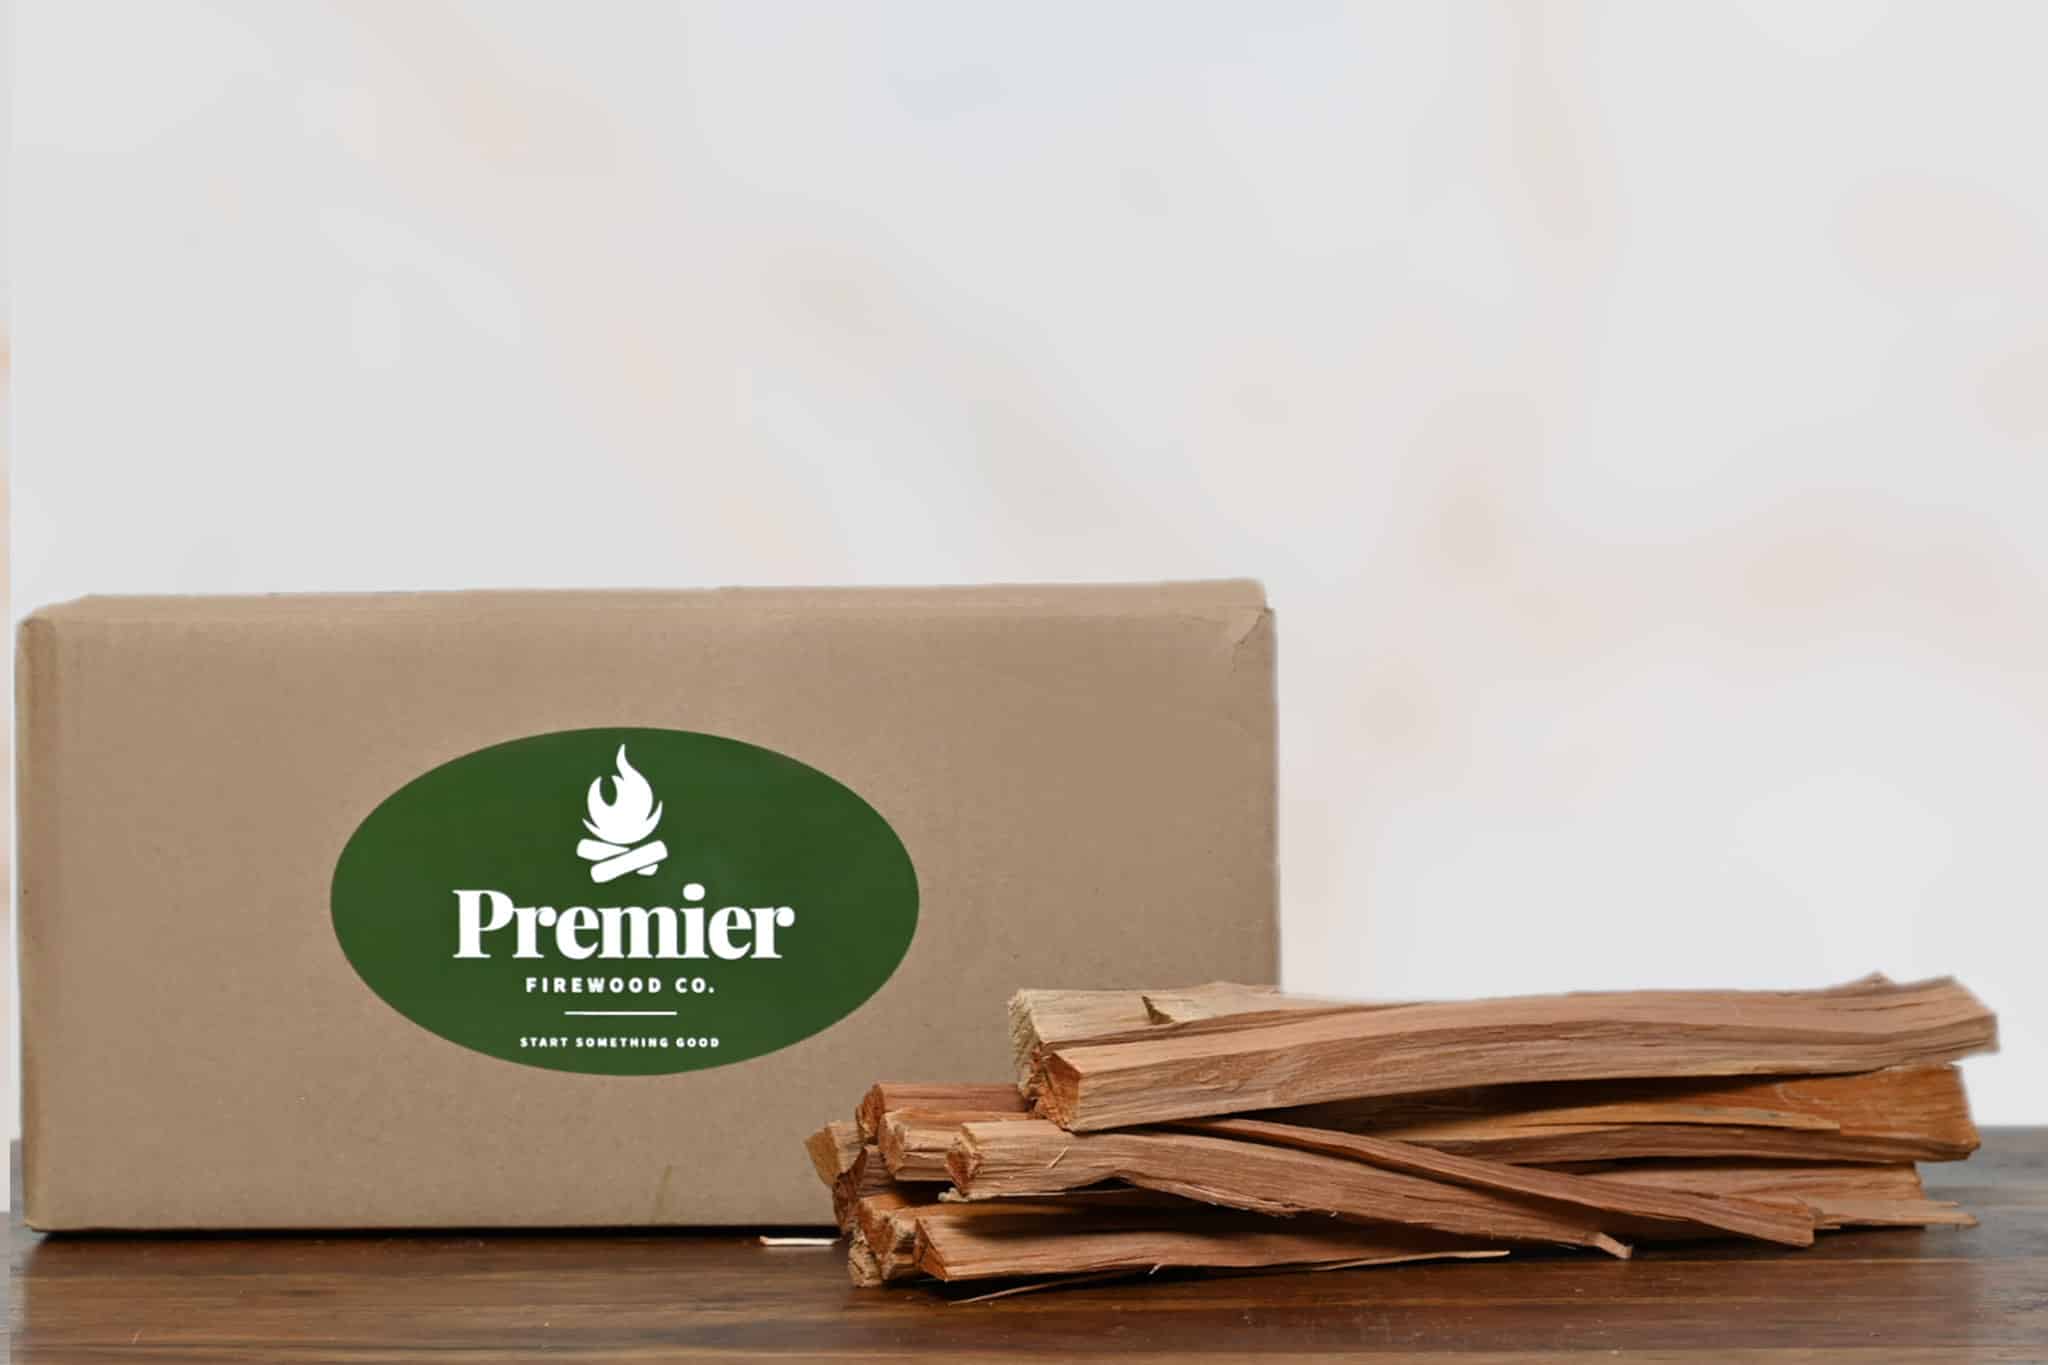
Split size matters as much as species. For portable residential ovens (Ooni, Gozney, Solo Stove), standard 16-inch splits do not fit and are too slow to respond when you need to adjust heat. Premier Firewood Company’s pizza-cut hardwood splits are sized at 6 to 8 inches specifically for residential pizza oven fireboxes. For full-size built-in hearths and outdoor brick ovens, regular splits work well once the oven is at temperature.
Moisture content is the factor most first-time users underestimate. Seasoned wood can still sit at 20 to 25% moisture after a year of outdoor storage. At that level, the fire spends energy evaporating water before it heats the stone. Kiln-dried wood processed to 10 to 15% moisture ignites faster, burns cleaner, and reaches peak combustion temperature in a fraction of the time. This is not a minor difference: USDA Forest Products Laboratory data shows that properly dried hardwood delivers up to 35% more usable heat than wood at 25% moisture.
Step 1: building the fire and reaching temperature
Starting the fire
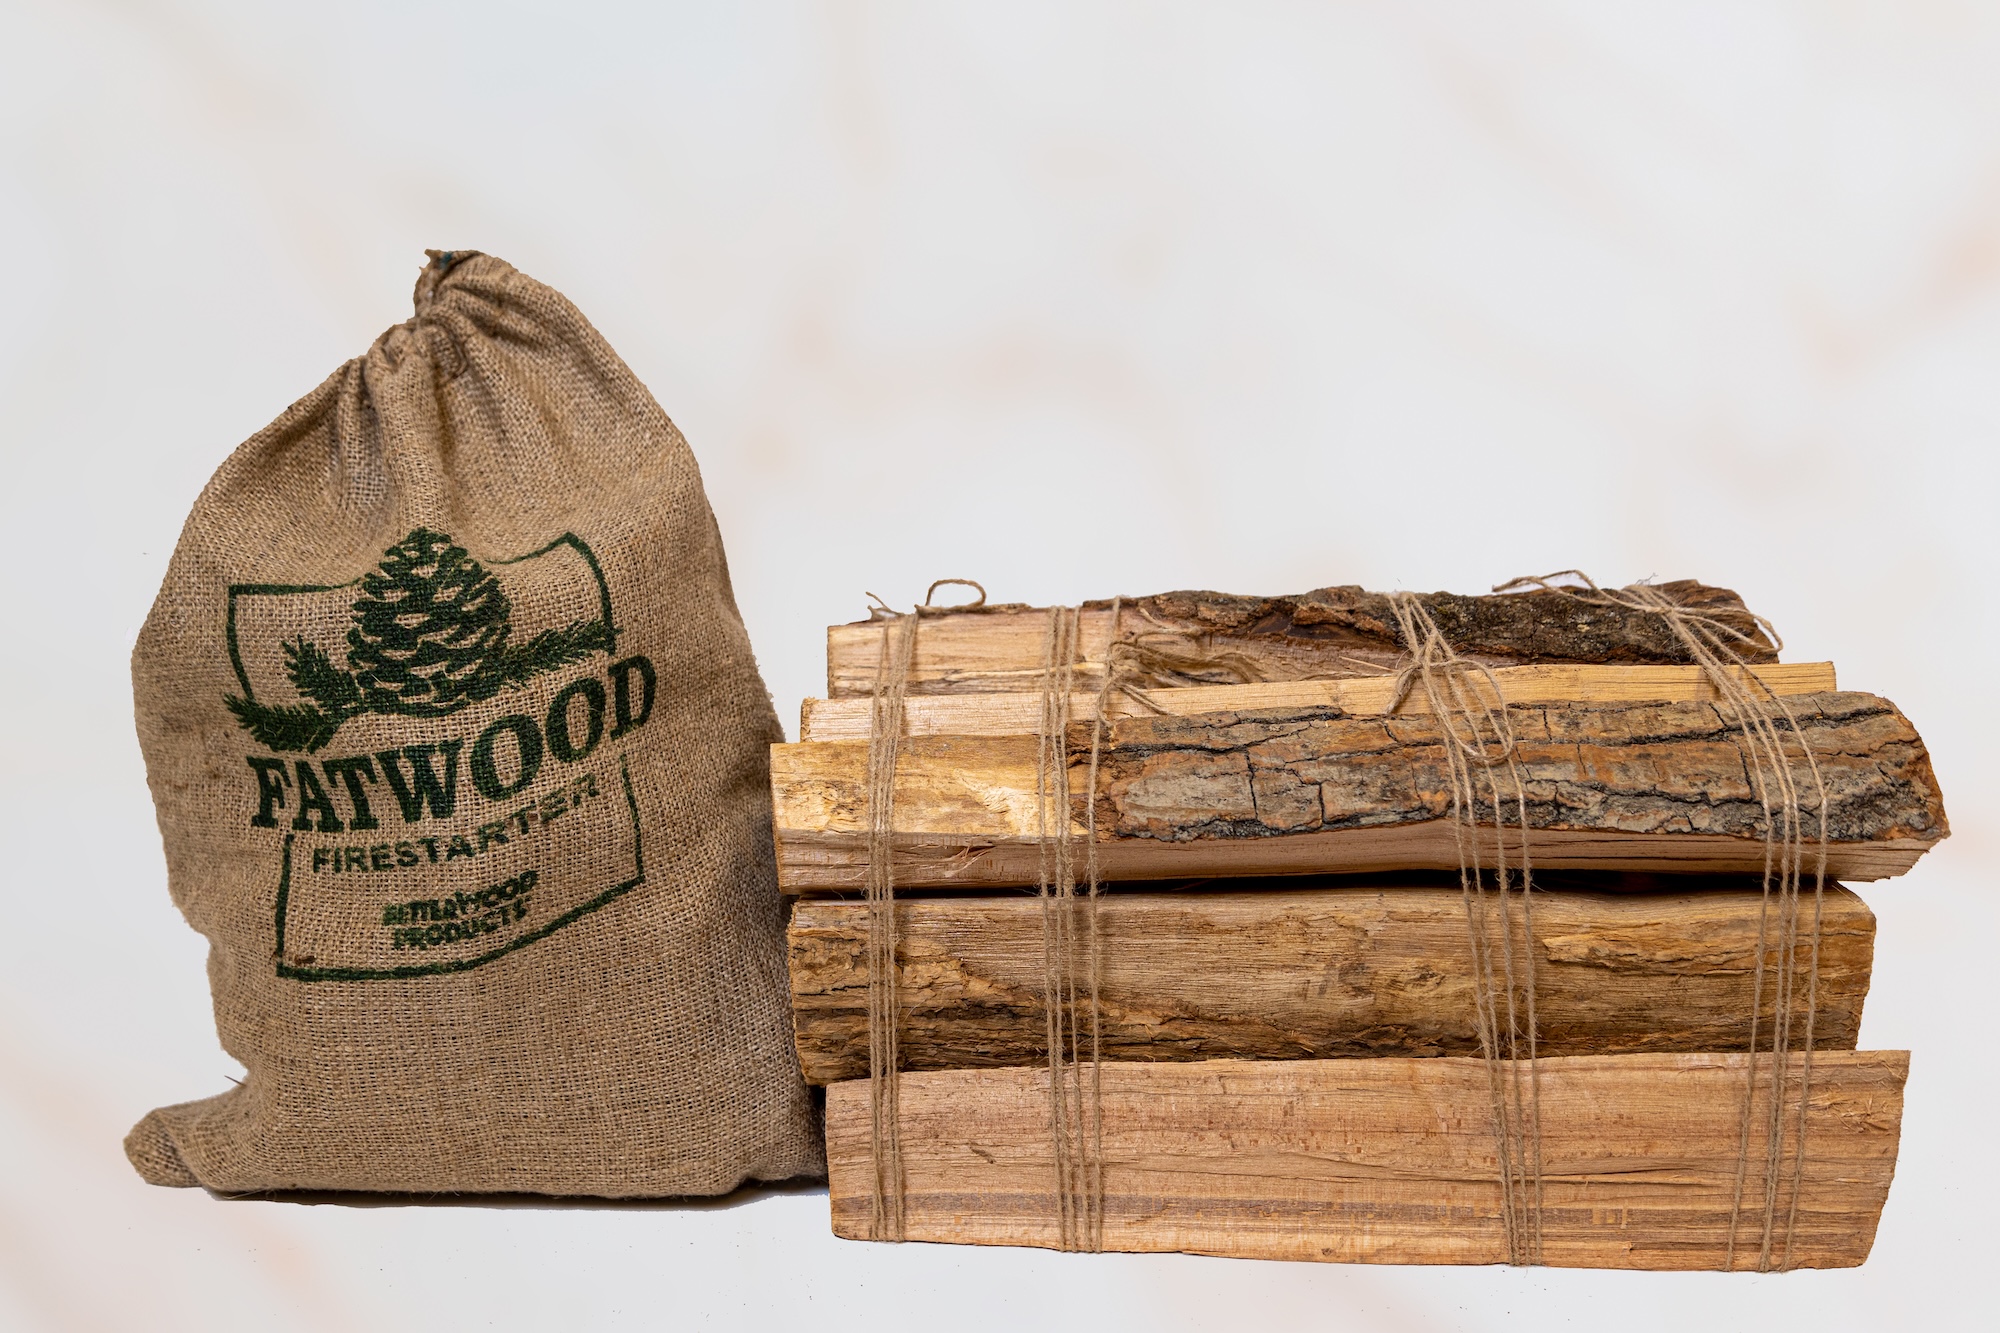
Place a small bundle of fatwood fire starters at the center of the oven floor. Fatwood is resin-saturated heartwood that lights from a single match and burns hot enough to ignite splits without chemical firestarters. Stack 3 to 4 small kiln-dried splits in a loose grid over the fatwood, leaving airspace between them. Airflow is what drives early combustion: a tight stack smothers the fire before it catches.
Light the fatwood and leave the door open or the vent fully open. Watch the fire establish for the first 5 minutes before adding anything. Kiln-dried wood catches quickly because there is no moisture to burn off first. Wet or high-moisture wood will smolder at this stage, produce heavy white smoke, and take significantly longer to establish a flame.
The preheat phase
Once the initial splits are burning steadily, add 2 to 3 more splits and let the fire grow. Keep the fire at the center of the oven during preheat so heat radiates outward in all directions, charging the dome and floor simultaneously. For Ooni and Gozney ovens, this takes 20 to 30 minutes with kiln-dried wood. For full-size brick or stone ovens in Fairfield County backyards, plan for 45 to 60 minutes from cold.
The visual indicator that the oven is ready is the dome turning from black to white. The black is soot burning off the interior surface. When the dome is fully white, the refractory material has reached saturation temperature and is actively radiating heat back downward. Do not launch pizzas before this happens.
Confirm with the infrared thermometer: floor temperature should read 750 to 900F for Neapolitan-style pizza. Aim for the higher end of that range for the fastest cook. Below 700F, the crust will cook unevenly and take longer than 2 minutes, which changes the texture of the cornicione.
Moving the fire for cooking
Once the oven is at temperature, use the ember rake to move the fire and coal bed to one side or to the rear of the oven. This clears the floor for the pizza while keeping an active flame that maintains dome temperature. The side with the fire is hotter; use this to your advantage when rotating.
Premier Firewood Company delivers kiln-dried pizza wood to homes and restaurants across Fairfield County, CT and Westchester County, NY. Order pizza wood for delivery or pick up at our Wilton location.
Step 2: launching, rotating, and reading the cook
Preparing the dough for launch
Stretch your dough on a generously floured surface and build the pizza on the peel, not on a separate board that requires a transfer. Use semolina flour rather than all-purpose on the peel: its coarser grain reduces surface contact and makes launching more reliable. Before walking toward the oven, give the peel a quick side-to-side shake. If the dough slides freely, you are ready. If it sticks, slide a thin offset spatula underneath and re-flour before attempting the launch. A stuck pizza at a 900F oven is not recoverable.
The launch
Stand directly in front of the oven opening. Position the peel at a low angle, tip just inside the oven, and use a quick forward-and-back jerking motion to slide the dough onto the floor. Do not tilt the peel down sharply. Place the pizza 6 to 8 inches from the fire, not directly under the flame. The fire side will cook faster.
Rotation and timing
At 850 to 900F, a Neapolitan-style pizza cooks in 60 to 90 seconds. You will not walk away. Watch the edge of the cornicione closest to the fire: when it blisters and chars to a deep brown with some black spots, rotate the pizza 180 degrees using the turning peel. The goal is even charring on the rim and a bottom that is fully cooked without being burned through.
At lower temperatures (700 to 750F), cook time extends to 2 to 3 minutes. This still produces a good crust but loses some of the leopard-spot char and the airy open crumb that define Neapolitan style. If you are consistently cooking in this range, add a split and let the oven recover before the next pizza.
Step 3: maintaining heat across a full session
One pizza is easy. Managing a wood-fired oven across 10 to 15 consecutive pizzas for a Westchester County crowd is a different skill.
Add one small kiln-dried split every 10 to 15 minutes to maintain the coal bed. Do not add large amounts of wood at once: a sudden fuel load temporarily drops oven temperature as the new wood absorbs heat before it combusts, and it produces a smoke surge that can affect flavor. Small, frequent additions keep the temperature stable and the dome radiating consistently.
Kiln-dried wood responds to this faster than seasoned wood because it reaches ignition temperature almost immediately. A split of well-dried oak placed on a hot coal bed will be contributing heat within 2 to 3 minutes. A split at 25% moisture smolders first, delays temperature recovery, and fills the oven with moisture-laden smoke during the transition.
Between pizzas, sweep loose ash off the floor with the long-handled brush. Ash acts as an insulator and prevents full conductive contact between the stone and the pizza base. A clean floor is a hotter floor.
Step 4: residual heat and what to cook after pizza
A fully charged wood-fired oven does not go cold quickly. After the pizza session, the retained heat in the stone and dome is ideal for a sequence of lower-temperature cooking as the oven gradually cools.
At 600 to 700F (immediately after pizza): whole fish, flatbreads, thin vegetables that benefit from intense direct heat.
At 400 to 550F (30 to 60 minutes after pizza): focaccia, artisan bread, roasted whole vegetables, bone-in chicken.
At 250 to 350F (1 to 2 hours after pizza): slow-roasted meats, braised dishes in Dutch ovens, overnight bread.
If you use cherry firewood during this later phase, its lighter smoke works particularly well with fish and vegetables that would be overpowered by the more robust character of oak.
Frequently asked questions
How to use a wood fired pizza oven for the first time?
Cure the oven first by burning a series of small, low-temperature fires on consecutive days if it is new or has been unused through a wet season. This drives out moisture from the refractory material and prevents cracking. After curing, follow the standard preheat sequence: fatwood, small splits, build to full temperature, wait for the dome to turn white, confirm floor temperature with an infrared thermometer, then cook.
How long does it take to heat a wood pizza oven?
With kiln-dried hardwood, a portable residential oven (Ooni, Gozney) reaches 750 to 900F in 20 to 30 minutes. A full-size built-in brick or stone oven takes 45 to 60 minutes from cold. High-moisture or seasoned wood adds significant time to both: the oven is consuming energy evaporating water rather than heating the stone, and preheat can run 30 to 45 minutes longer.
What is the best wood to use in a pizza oven?
Kiln-dried oak is the benchmark: high BTU output, a dense coal bed, and neutral smoke that does not compete with toppings. Cherry is a good secondary choice for a subtle sweet aroma. For restaurants and home chefs who want to vary flavor by dish, apple or other fruitwoods work well mixed with oak. All wood should be kiln-dried to under 20% moisture; anything above that slows preheat, increases smoke, and reduces heat output.
How do you use a portable wood fired pizza oven?
Portable ovens (Ooni Karu, Gozney Roccbox wood version) require smaller fuel than full-size hearths. Use 6 to 8 inch mini pizza splits rather than standard firewood. Start with fatwood or commercial fire starters, establish a small fire, and preheat with the fuel door closed after the first few minutes to build heat rapidly. Most portable ovens reach cooking temperature in 20 to 25 minutes with kiln-dried mini splits. Add one small split at a time and never overload the small firebox.
Mastering how to use a wood pizza oven comes down to two things: understanding the heat, and starting with the right fuel. Premier Firewood Company supplies kiln-dried hardwood pizza splits to home cooks and restaurants in Norwalk, Greenwich, Wilton, and Scarsdale. The wood arrives dry, sized, and ready to fire. Shop pizza wood splits or get in touch with our team for restaurant volume orders and delivery scheduling.